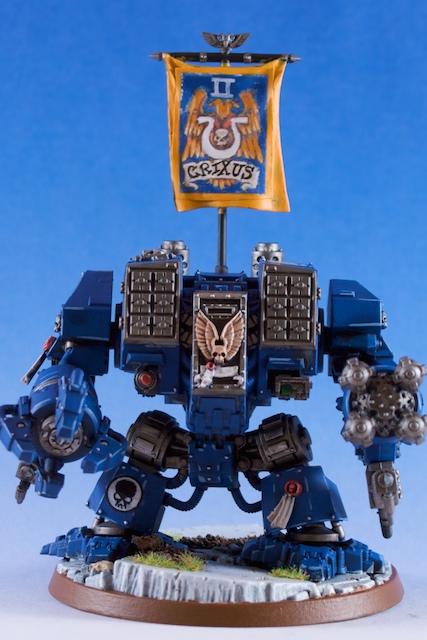
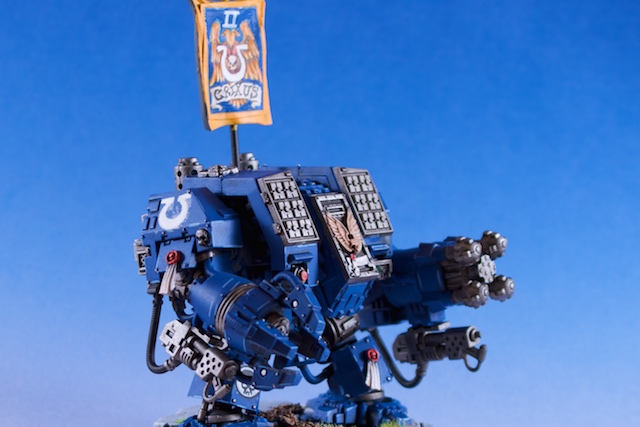
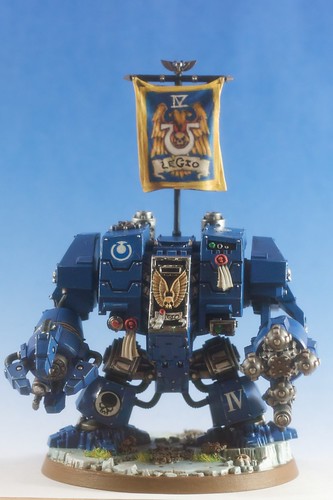
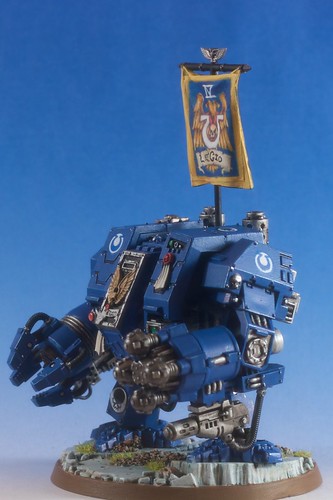
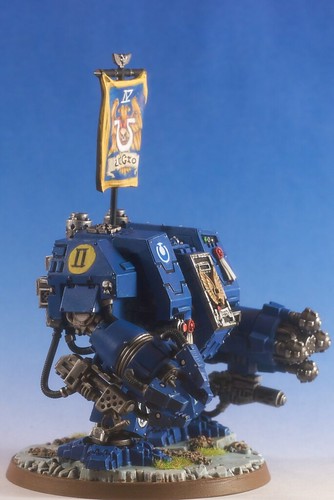
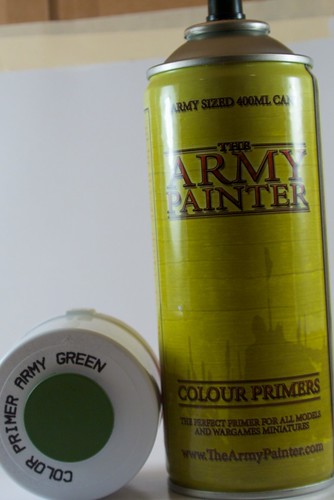
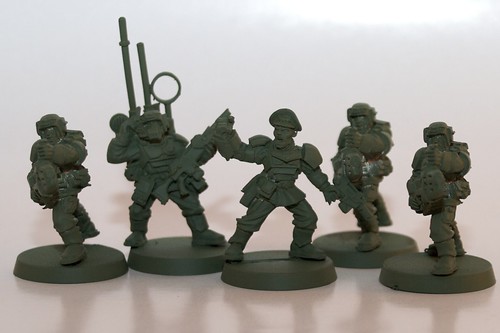
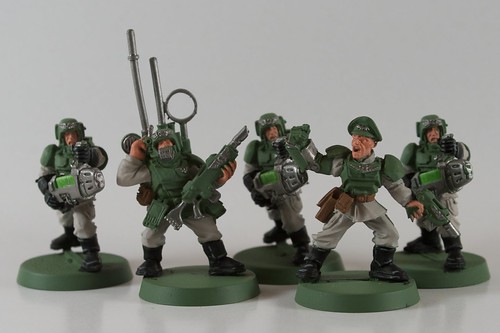
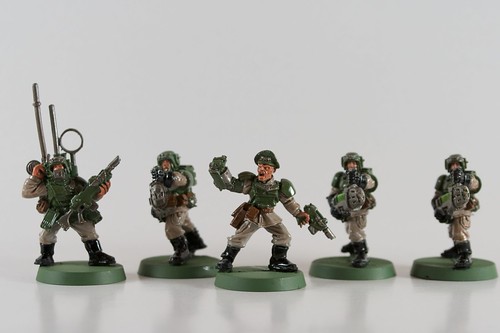
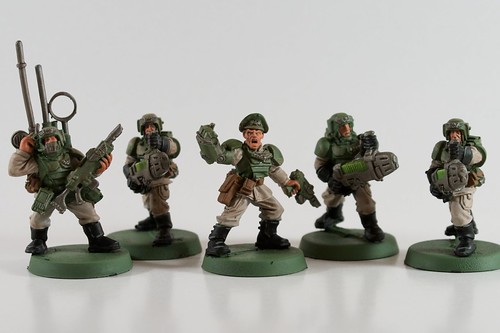
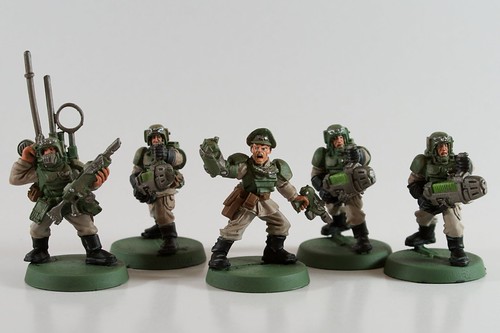
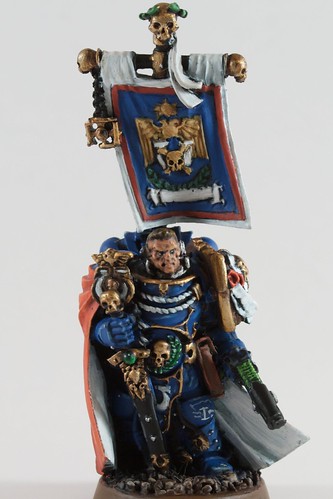
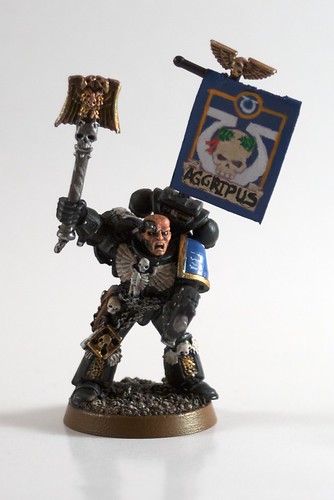
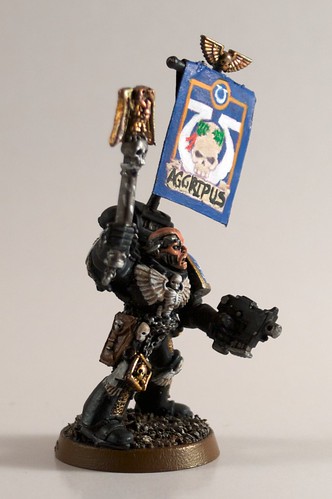
Sorry, no WiP this month. With Adepticon coming soon, and I was asked to paint some stuff for the rest of the team, I started on this before I remembered to get some pictures. However, after doing another Ironclad, 4 dreadnought drop pods, objective markers, and getting my tactical squads ready for travel, one of my keys to success has already come to past- get plenty of sleep the week before the big con! A couple of my teammates have already confessed that they will be painting right up until the time of the event. Boo to that I say!
Ironclad Crixus
0
comments
March 18, 2010
March Update
Also, I have been watching Sparticus on Starz. Lots of great Latin/UM names in that show. I think that I'll name this Ironclad "CRIXIS" after the badass rival gladiator in the in the gladiator school.
0
comments
March 10, 2010
Ironclad Dreadnought: Legio
Anyway, since my free hand is so bad- have taken some readily available banners and placed on the the dreadnought banner section, then painted over it- a sorta color in the numbers type of thing. So far, I am happy with the results. Of course one problem with this banner is that it didn't go flush on the banner, but it came close. From a distance, it is hard to tell... only with the macro lens and the magnification does it show up.
Anyway, what all do you think of the banners?
1 comments
February 24, 2010
Adeptus Administratum- Tutorial: The Army Painter Method (Dipping Method)
I have seen a lot of people talking about Army Painter (thearmypainter.com) and several have no idea what is going on. Others wish to know just how well this works. So, here we go a simple tutorial in using the Army Painter Method. This is also known as the dipping method in some circles, but I like calling it this. The terms are certainly interchangeable.
First off, this is a method. Nothing more or less. Its a method in the same way that drybrushing, wet blending, sharp highlight, etc is a method. Its not for everyone in every situation. However, it is excellent for getting models painted quickly to a tournament standard. At the core, you use a shader (more on this below) on top of base colors in order to give the model depth (shades and highlights). The focus is on speed, while creating great looking models. It is great for being able to shade models with lots of detail, but it won’t look as good on models with lots of flat areas, like space marine armor.
What you will need (products and prices- mostly from thewarstore.com or Lowes.com (American DIY giant):
A primer, a shader, and most commonly a matte spray.
Primer- you can use GW’s white or black as normal and then use their air brush to cover the model in one color. However, there is a simpler method. Army Painter has colored primers for about $12 which are excellent. In fact, these are my new primers for all applications. You can use GW’s color primer cans ($15) if you wish. Avoid cheep primers- if you have a $1 model, then use a $1 primer.
Shader- Army Painter has cans of shades ($26) that is essentially a wood polish. Many people are using this:http://www.minwax.com/products/one_s...es.html#Colors. I like this for many reasons, one you get many more color options and two the price is cheaper. A one US Quart size is $11.84 and the smaller half-quart is $6.97. I’d advise to buy a couple of half-quarts because you won’t use much of it and you can play with the colors at will.
Matte Spray- because the shader will leave a shine to the models, you will want to use a matte spray to take the shine off and it will help to ‘blend’ the colors in your models. See below.
The Method:
1. Prime your models as normal, for my Imperial Guard Command Squad I used AP’s Army Green. These are metal models, but it works great on the plastic guardsmen as well. Follow the directions on the can carefully, this is a high pigment spray and you need to pay attention. You can also get some other high pigment sprays from nicer art stores if you live in the appropriate area.

2. Paint a base color on your models as below. Remember, this color is essentially going to be the ‘highlight’ or at least a base color + highlight. You will need to relearn some of your color combinations when doing this. I used the following colors: armor (gretchin green), cloth (dheneb stone), skin (dwarf flesh), metal (boltgun), boots (black).

3. Do the ‘dip.’ According the official army painter method you are supposed to dip your models in the dip, grab them with a pair of pliers (avoiding crushing your base) and fling them around like an epileptic spraying your dip all over the place. If you are married/engaged/ or don’t have a large open space, this is a bad idea on so many levels. Trust me! :) I however, prefer to use an old brush and paint on the dip. You get far more control, and can use the brush to control how much dip you get in each spot of the model, particularly areas of high detail. I find it takes the same amount of time, but cleanup is far quicker. Just use a paint thinner to clean your brush. I used the Min-Wax Polyshade Old Maple as it matches up to the Strong Tone AP well, at about half the price. Just be sure to shake up the can and add a touch of paint thinner to the pot, more if you find the polyshade to be too thick. I used about a tablespoon to the quart. Let it dry, at least overnight but preferably for one day... or you’ll hate yourself. Nothing like starring at the model with that big fingerprint imbedded on it! :)
Ahhhhhhh! The Glare!

4. At this point all you need to do is use a Matte Spray. I like the Krylon Sprays at Lowe’s for about $6. You’ll pay $9 at thewarstore, higher at other places. Again, follow the directions on the can. Notice that the armor has become ‘muddy’ or brown, the highlights are not as clean. However on the fatigues it looks great, and I like the look on the las/plasm guns. The shader will create a nice graded depth to the model leaving you to add a sharp highlight if you want (see below).

5. Lastly, I like to add a bit of highlights to a couple of areas like the face and silver eagles on the gun and armor. However, you can skip this step and feel good about what you have. Of note, you’ll notice that I didn’t do the eyes until these last two steps, you can do them earlier or now depending on how much you hate eyes. I hate them with a passion, however they are probably the most important part of the model and I need multiple tries to get them ‘right’ These probably need more work to be honest. :)
I still need to finish a couple of items on the Vox Caster, but I ran out of steam.

In summary: this took me less than 3 hours active painting time over the weekend to get a completed unit sans basing. Normally this would have taken me close to 10 hours to get moderately better results (perhaps not much better). However, I found my self hating how the models looked, right up until the end. So stay the course, and wait until you get your Matte Spray on to judge your models.
Should I use this? Well, it depends. I wanted to get around 50 imperial guard troops done quickly so that I could move to the tanks... what I really like! This method got me to my goal very fast and I am happy with the results. However, I wouldn’t use this method on Marine armor, Eldar, or Tau. Tyranids, Demons, (?) Orks, and Imperial Guard are good options for this method. Other armies are possible, depending on what you are aiming for. Optimally, the place to use this is with your square base models. For those gamers, this may save your sanity!
Where to go with this? I probably wont use the AP/Dipping method on my next army (Eldar or Orks)- however, I will make use of the AP sprays and then use GW Foundation paints with GW Washes. I’ll use a traditional sharp highlight on top of that... and achieve a similar result at the cost of a bit more time. But that is just me.
1 comments
January 15, 2010
Captian Sicarius Completed
Chaplain Aggripus
Finally some Indepent Characters are getting done. Chaplain Aggripus is the first to get a finished touch. One of the things I tried with this model is doing a banner. One of the things I like about the 40K lore is that characters wear ‘come get me’ banners. Its totally against what the modern army would use, but dang it looks cool 38 thousand years from now!
One of the things I need to do is to glue down banner as I see that slides around while in his storage facility. Other than that I like the banner, a lot.
Oh, and my secret? Glad you asked, because it is simple. I printed out a banner from Games Workshop and using Photoshop I shrunk it down to size suitable for the model. After that I painted over the banner so that it looks more free form and doesn’t look like I printed off a banner. Perfect for the person (like me) who can’t paint or draw in freeform!
Let's Bring in the Big Dudes
Its been awhile, but I have managed to get a few more models painted.
First off- My Landraider Crusader is nearly complete. I need to finish some of the decal work and the storm bolter. This model had been sitting on my shelf for around 5 years (maybe longer, can't remember). So its a major accomplishment that it is now painted with the honorable colors of the Ultramarines!
Close up of the LRC 'Extremis'
Now what to put in this machine? Well, terminators would be the most obvious choice. I have started some terminators from the AoBR box set. I am still deciding on getting LC or SH/TH bits from GW and make some close combat terminators.
Still plenty more to do with this army, but I got some new shinnies - Imperial Guard Vehicles!
0
comments
September 30, 2009