.
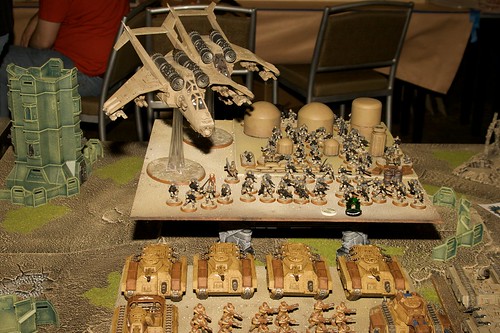
After finishing the Hell Hound, my attention turned to the Valkyrie. This was the model that turned my attention to the Imperial Guard in the first place. And, if you have read my Adepticon posts or have been to a large tournament in the last year you know that a lot of other people have started the IG for similar reasons. And for good reason, its a super sweet looking kit and the rules are awesome. Winner, winner, chicken dinner (as my grandmother would say!).
Now for such a serious model, I wanted to try to some new stuff and generally end up with a nice looking model without spending forever on it. Enter in weathering. I grabbed my ideas from a number of blogs (mr justin, Mathieu Fontaine, and Ultrawerke). Traditionally, the GW hobbiest weathers with GW paints and possibly some of the weathering powders on the market. However, these blogs pointed to the historical hobbiest use of oil based paints to achieve the same results. With this you gain a couple of advantages over a traditional wash- its quicker, it retains a high surface tension so the oil 'wash' doesn't dive down deep into the shadows, and over the long term it is much cheaper.
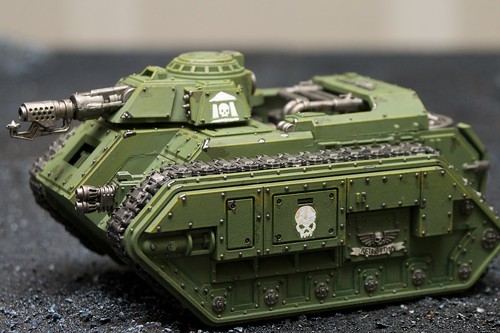
First off- I painted the model like normal. Then I added some highlights with hard lining and placed some decals to celebrate Cadia. 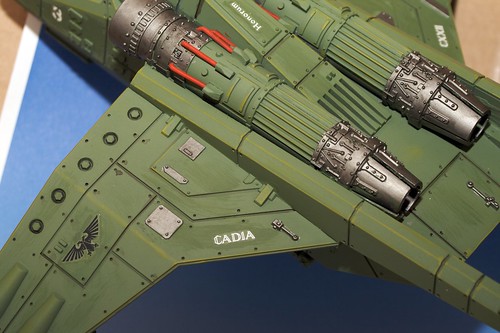
Oh, I did two at a time.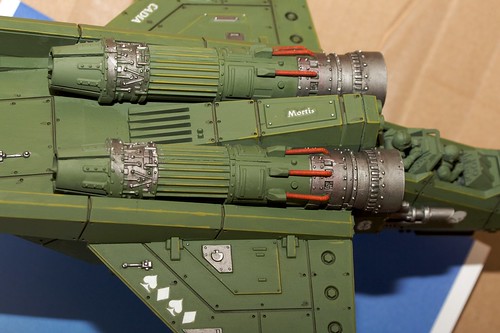
After a dose of Purity Seal the first oil wash was started. The local Hobby Lobby came through in a major way. I got several colors of Winsor & Newton Winton Oil Colours. They run about $6 per tube, and a tube will last you for several years, possibly longer. If you keep a close eye out, HL will offer special sales on their oil paints. I bought black, white, burnt umber, and the primary colors (red, blue, and yellow). With these colors you can make any other color out there using white and black to adjust the saturation. I got burnt umber just because that is a color I'll use a ton of.
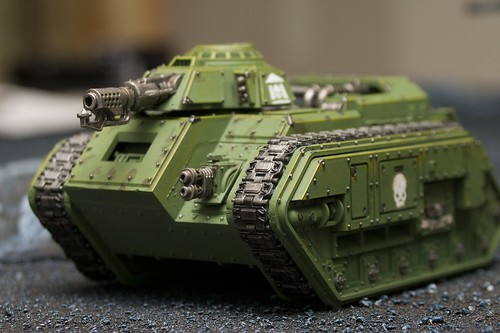
Next apply these colors in random areas with short strokes moving along the sides of the plane in a lateral motion. Then thin this down with a paint thinner. Using the thinner to get the opacity you want, and travel the brush in the direction you want your weathering. Have fun with this step!
Warning- oil based paints take several DAYS to dry. I did one or two colors at a time, then applied another dose of Purity Seal to the models, then repeated the process.
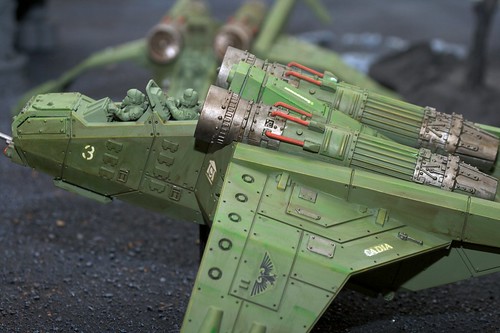
At this point some of the areas were done messily- no worries, there are more steps to come.
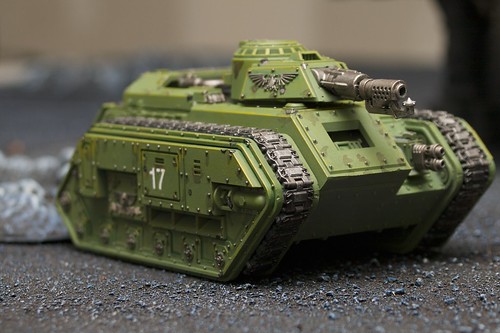
My last step, at this time was to add Raw Sienna (same paint line as above) since the main ingredient is 'rust'. Thusly, this was my rust stage of the weathering, done in the same fashion as above. 
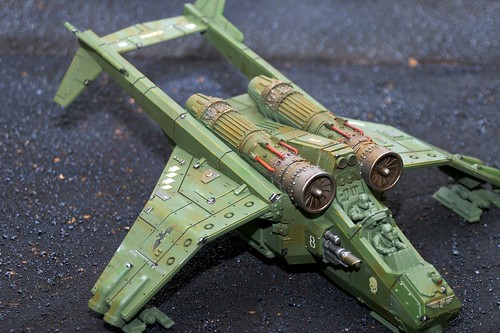
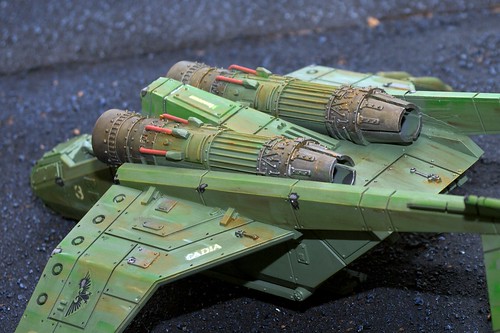
Obviously still WiP at this point. However, the main body is done. The flash on the camera picked up the lighter green oil paints more than you see in with the normal eye. Once those illusive Forge World Vendetta parts come in, I'll be able to convert over the Valks to the Vendetta.
WiP: Imperial Guard Valkyrie
5
comments
April 28, 2010
![]()
Blood Splatters...
.
Today at work (I am a general practice doctor) I was doing a procedure and had a tourniquet on a lady's toe to control any blood. At the end of the procedure, I figured all of the blood was clotted and snapped the tourniquet off. Yeah, so I forgot that she was on a blood thinner and blood went flying across the room. Its a good thing that I was wearing a bright white shirt that now sported a nice thin splatter of blood across it.
Now the sick part comes in. While cleaning my shirt I started to look at each drop from a miniature prospective. How does it land... does it drip.. what color is it... is it matte or varnish... yeah sick stuff. :)
Just a note, if you get blood on your white (or any color) shirt, Hydrogen Peroxide if applied quickly will get the blood out of the shirt amazing well.
Here is a miniature I did awhile back- take note of the blood stains. Its not bright red. Blood especially in small amounts dries brownish-red. Its matte. And it usually hits you in a spray like manner, not a huge clot- especially if it came from an artery or from a punch in the face from a space marine.
Too many times I see blood represented as a big red bloob. That only happens when you make huge cuts and leave large amounts of blood together to clot (or congeal).
Anywhere, here is the Malifaux figure Dr. Douglas McMourning:
Today's lesson taught me that I need some smaller blood splatters on the apron. If I wanted 'more' blood- a big smear would probably work. But I get the feeling that this is old dry blood on his apron. I love this figure...
.
3
comments
April 23, 2010
![]()
From the Workbench...
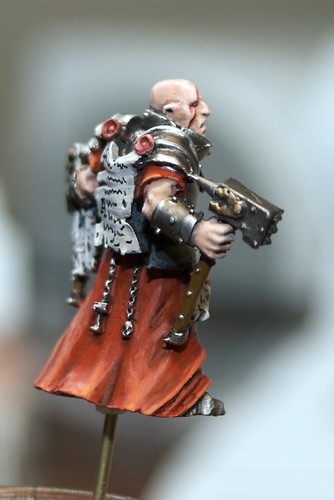
I present to you Abrihim von Hammerschpeilt:
First off, using some of the techniques learned from this years Adepticon, I created a few bases made from Sculpey, which is a cheap oven baked clay. Once prepped and baked, I simply attached it to a base and carved out some stones for my Mordheim priest. If you want, I'll present a further tutorial sometime. 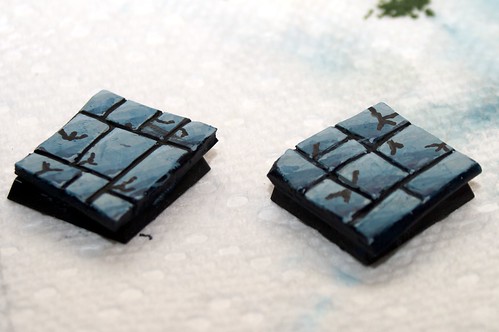
My thanks to the Wappel's, for being simply awesome in showing us this simple and cheap way to create a base. You guys rock!!
Lastly I attached my Warrior Priest to the base and viola. Probably my coolest base and model to date, and best of all no sand, no headache with glueing crap to the base. That being said, the base would probably benefit from some static grass or other 'old' looking stuff.
I took Jason's idea for naming my figure and I now present to you: Abrihim von Hammerschpeilt- defender of the Empire, Priest to all Warpstone Hunters, and Slayer of the Dark. 

I am still working on my Vendettas.. and I bought some oil paints today in preparation for doing some weathering. More updates and possible epic failure to come.......
Witch Hunters
No, not the Sisters of Battle. Though I do have some of those sitting around here somewhere....
Anyway back on target!
A few of my friends here in St Louis are wanting to get together and play some Mordhiem. Its a perfect reason to get my old Witch Hunters warband out. During that time, I noticed that some elements of the warband never was completed the last time I played (probably two or three years ago!). Well that just wouldn't do. So here is the new-ish GW priest, a perfect fit for the adventurers in Mordheim. 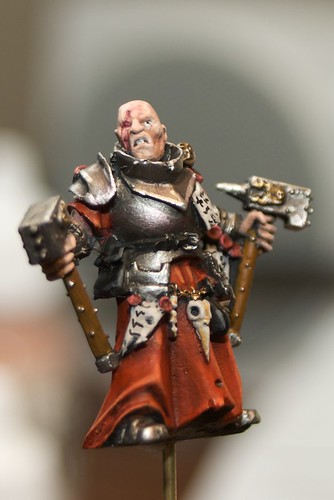
If I was one of those cool gamers- I'd already have a name for this guy (not to mention the entire warband!). However, I spend most of my painting time listening to podcasts and audiobooks. This time around, Abraham Lincoln: Vampire Hunter occupied my time, instead of coming up with cool names for a little metal guy. Who knew that ole' Honest Abe was a kick ass vampire hunter. I've always had my suspicions... now I know for sure!
2
comments
April 19, 2010
![]()
Imperial Guard gives me Heart Burn
3
comments
April 15, 2010
![]()

